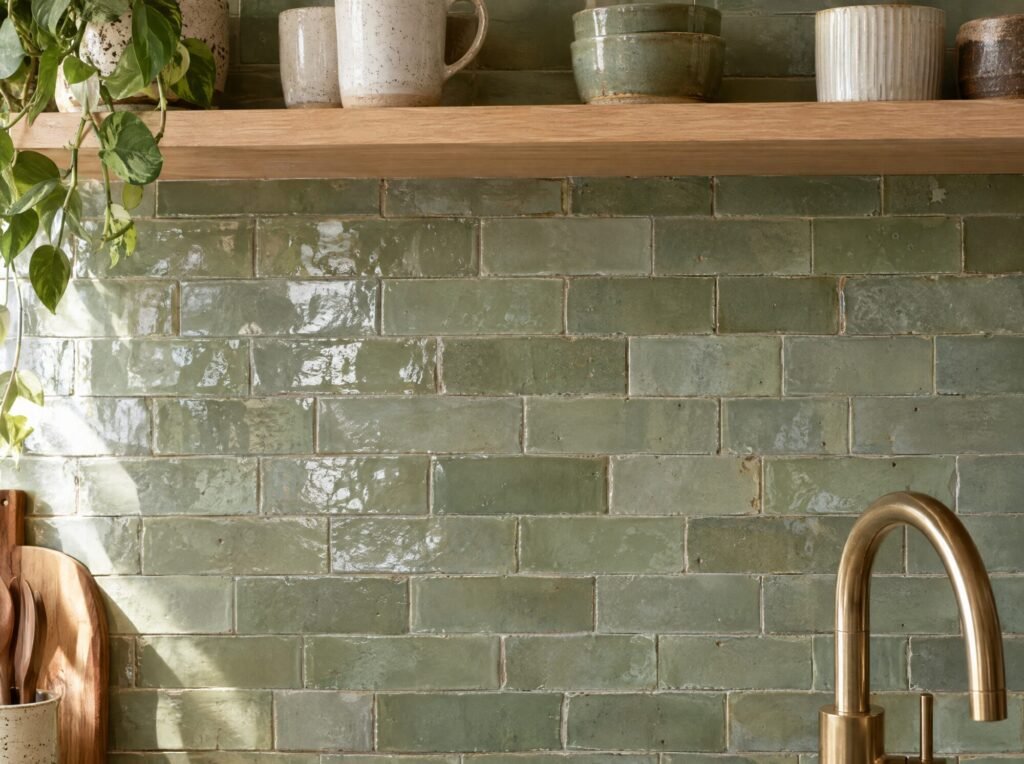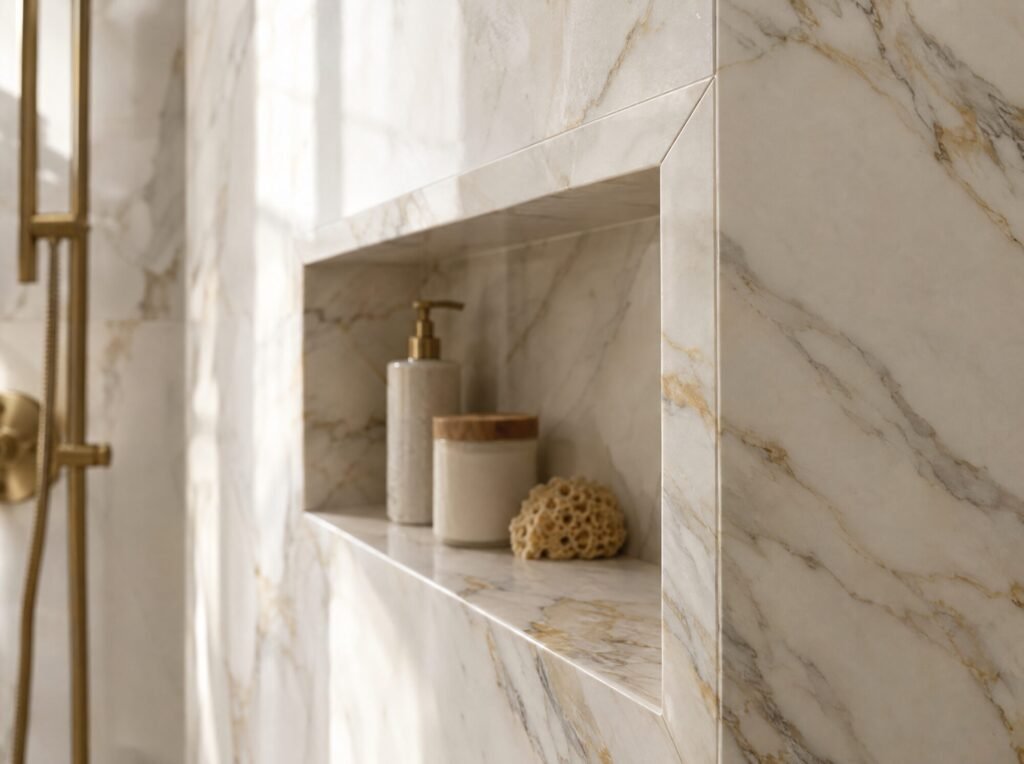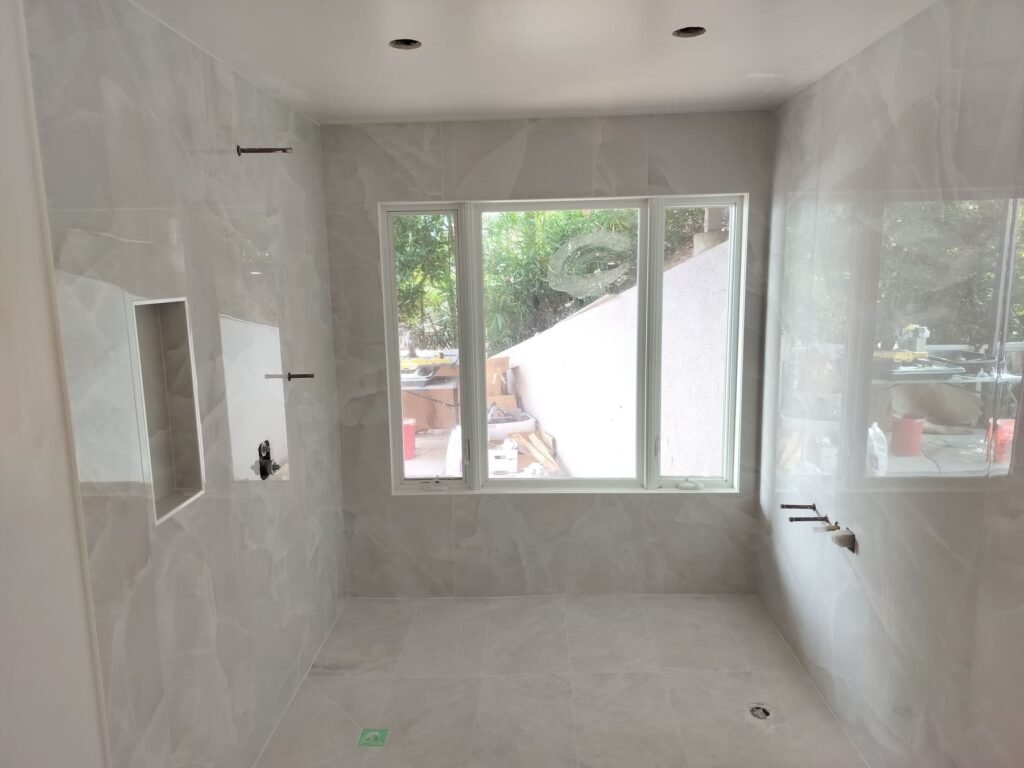
When a tiled shower fails, the tile is almost never the problem. The problem is what’s behind it. Tile and grout are not waterproof. Water passes through grout lines every time you shower, and what happens to that water next decides whether your shower lasts thirty years or starts rotting the wall in five.
This guide explains how shower waterproofing works, the systems used today, and the questions to ask any contractor before they close up your walls.
Why tile alone doesn’t keep water out
Cement grout is porous. Even epoxy grout, which is far more water-resistant, can’t help at cracks, corners, valve penetrations, and niches. In a shower, the tile is the finish layer. The real protection is a continuous waterproof layer underneath it that carries water to the drain.
In many older homes, showers were built over green drywall or plain cement board with no waterproofing at all. Cement board is water-resistant, which means it won’t fall apart when wet. It is not waterproof, so water passes through it into the studs.
The three main waterproofing approaches
1. Sheet membranes
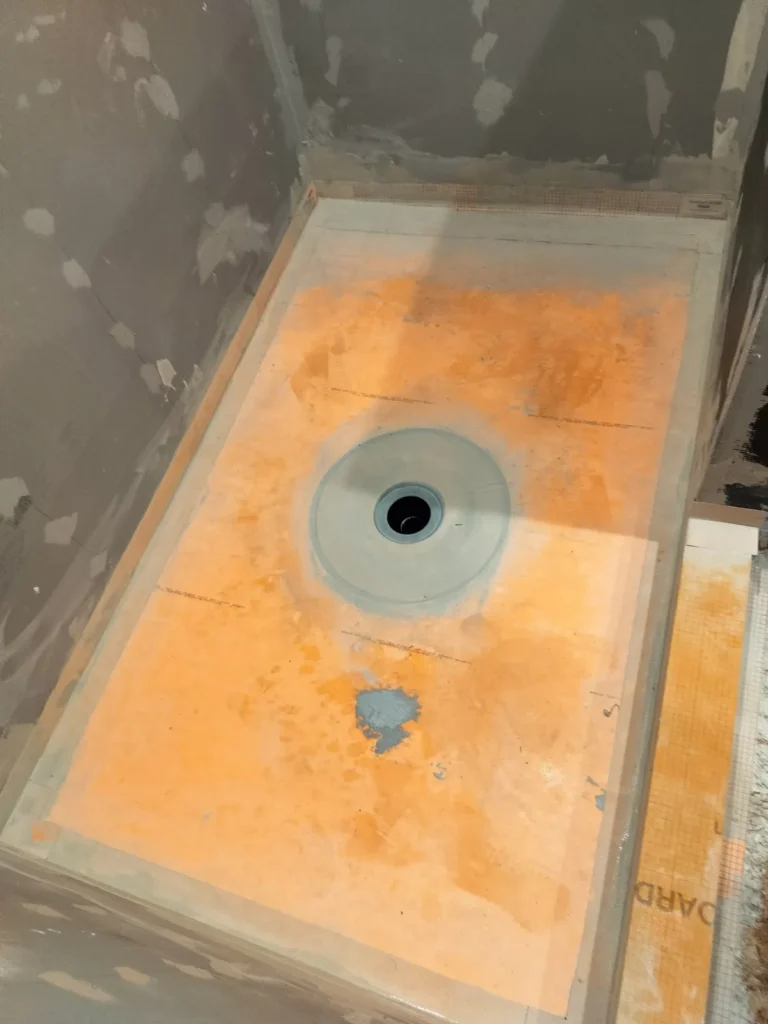
A thin polyethylene-based fabric is bonded to the wall and floor with thin-set mortar, with sealed seams and pre-formed corners. The thickness is factory-controlled, so you get the same protection everywhere. These systems take care at seams, but they are very reliable when installed to the manufacturer’s instructions.
2. Liquid-applied membranes
A rubbery coating is rolled or brushed on in two or more coats, usually with fabric reinforcement at seams and corners. The key is reaching the manufacturer’s required dry-film thickness. Too thin and it won’t protect; installers check this with a wet-film gauge. Liquids are good at sealing around odd shapes like benches and valve bodies.
3. Waterproof foam board systems
Lightweight foam panels with a waterproof facing replace cement board entirely, and the seams and screw heads are sealed. They are fast to install and keep the wall assembly light, which helps in older framing.
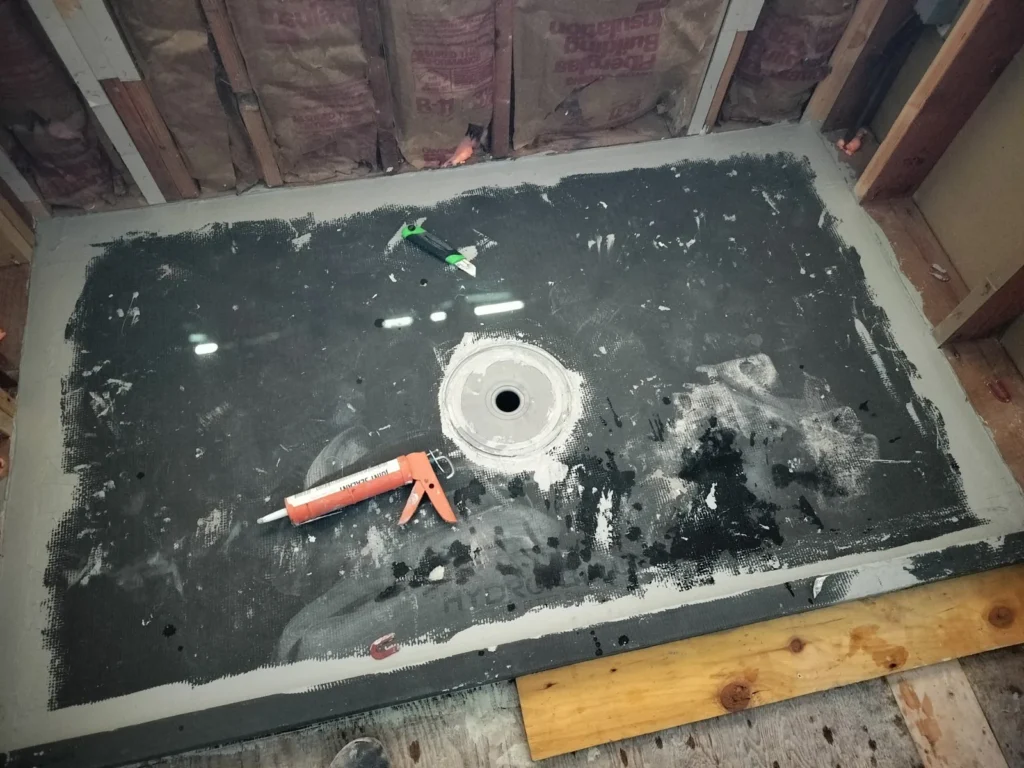
All three work. Problems come from mixing incompatible products, skipping steps at transitions, or not following one manufacturer’s full system. A good installer uses a matched system: membrane, drain, corners, and sealants from the same family.
The shower floor: slope and the drain
The pan is where most failures start. A properly built shower floor needs:
- Consistent slope to the drain. The industry standard is a minimum of 1/4 inch per foot. Flat spots leave standing water that ends up in grout and stains.
- A drain designed to bond with the membrane. The waterproofing must connect directly to the drain flange so water on the membrane has somewhere to go.
- No low spots at the curb or glass. Water should never pool against a curb or the bottom of a glass panel.
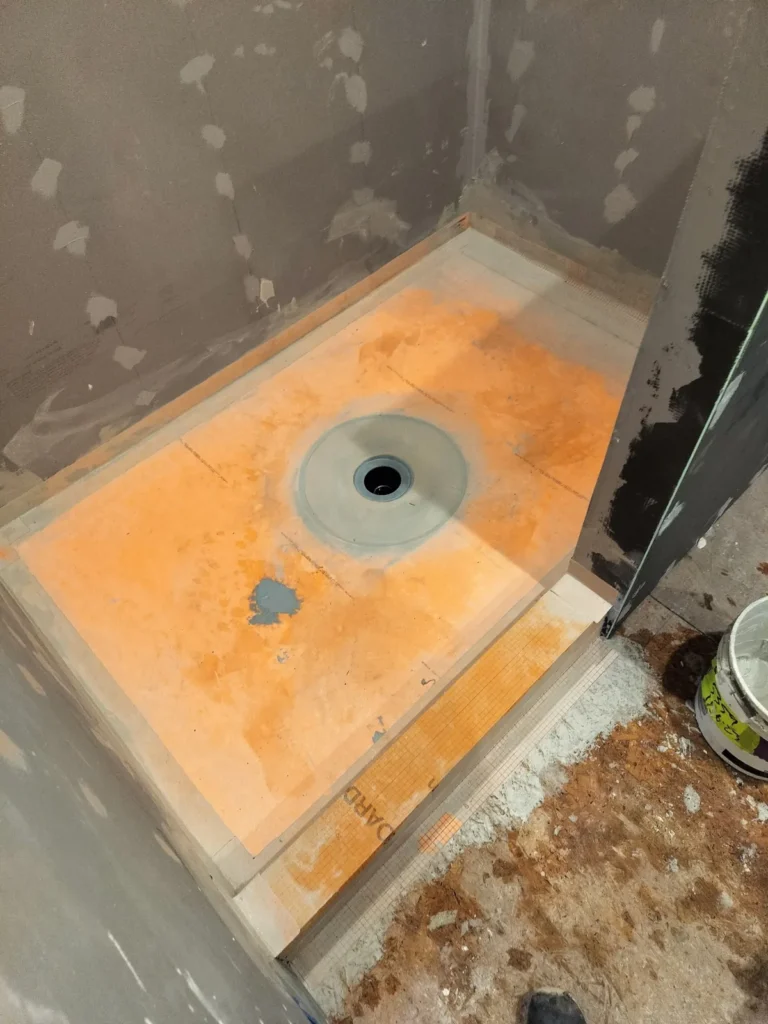
Linear drains and curbless (zero-threshold) showers look great and help with accessibility, but they need more planning. The floor framing often has to be lowered so the shower floor sits below the bathroom floor, and the waterproofing has to extend past the shower area.
The flood test: proof before tile
Once the waterproofing is done and cured, the drain is plugged and the pan is filled with water, usually for 24 hours. If the water level holds and nothing shows up below, the pan is proven before a single tile goes down.
On the job in the video above, the pan held water for a full 24 hours before we set any tile. This step costs a day and catches problems while they are still cheap to fix. If a contractor doesn’t flood test, ask why.
Details that separate a good shower from a great one
- Niches should be waterproofed as part of the wall, with the bottom shelf sloped slightly forward so water drains out.
- Benches need the same slope and full waterproofing on every face.
- Valve and shower head penetrations should get manufacturer-made seals, not just caulk.
- Change of plane (corners, wall-to-floor) gets flexible sealant instead of hard grout, because the house moves.
- Ventilation matters. A properly sized exhaust fan that actually vents outside keeps moisture off walls and ceilings.
Signs your current shower has a waterproofing problem
- Grout that stays dark long after showering
- Loose or hollow-sounding tiles
- Musty smells, or mold that returns after cleaning
- Stains or soft spots on the ceiling below
- Caulk at the base that keeps failing
Re-grouting or re-caulking can buy time, but if water has been getting behind the tile, the only lasting fix is to take the shower down to the studs and rebuild the waterproofing.
Questions to ask your tile contractor
- Which waterproofing system will you use, and is it one manufacturer’s complete system?
- How do you handle the niche, bench, and valve penetrations?
- Will you flood test the pan before tiling? For how long?
- What slope will the shower floor have?
- Can I see photos of the waterproofing stage on past jobs?
A contractor who is proud of their prep will be happy to answer every one of these.
Frequently asked questions
Is cement board waterproof?
No. Cement board doesn’t break down when wet, but water passes through it. In a shower it needs a waterproofing membrane applied over it.
How long should a shower membrane cure before tiling?
It depends on the product. Liquid membranes often need several hours to a day between coats and before testing. Always follow the specific manufacturer’s cure times.
Can you waterproof over existing tile?
Some products allow it in limited cases, but in a shower that’s already leaking, covering the problem rarely fixes it. Most of the time the right answer is to remove the old tile and inspect the framing.
Planning a shower in San Francisco or Marin? We build every shower on a matched waterproofing system and flood test before tile. Request a free estimate and we’ll walk you through exactly what goes behind your walls.